
Nearly all parenteral solutions (think shots!) are stored and delivered in glass vials. Glass is an ideal receptacle and serves well…except when it doesn’t. Now and again the liquid contents of the vial attack the glass leading to deterioration of the wall and generally with the liberation of glass particles. The process is referred to as glass corrosion or glass delamination. Microscopy is a useful tool to help understand glass corrosion and to help predict whether a particular formulation and set of glass vials will result in corrosion.
Example 1 Glass Corrosion by Microscopy
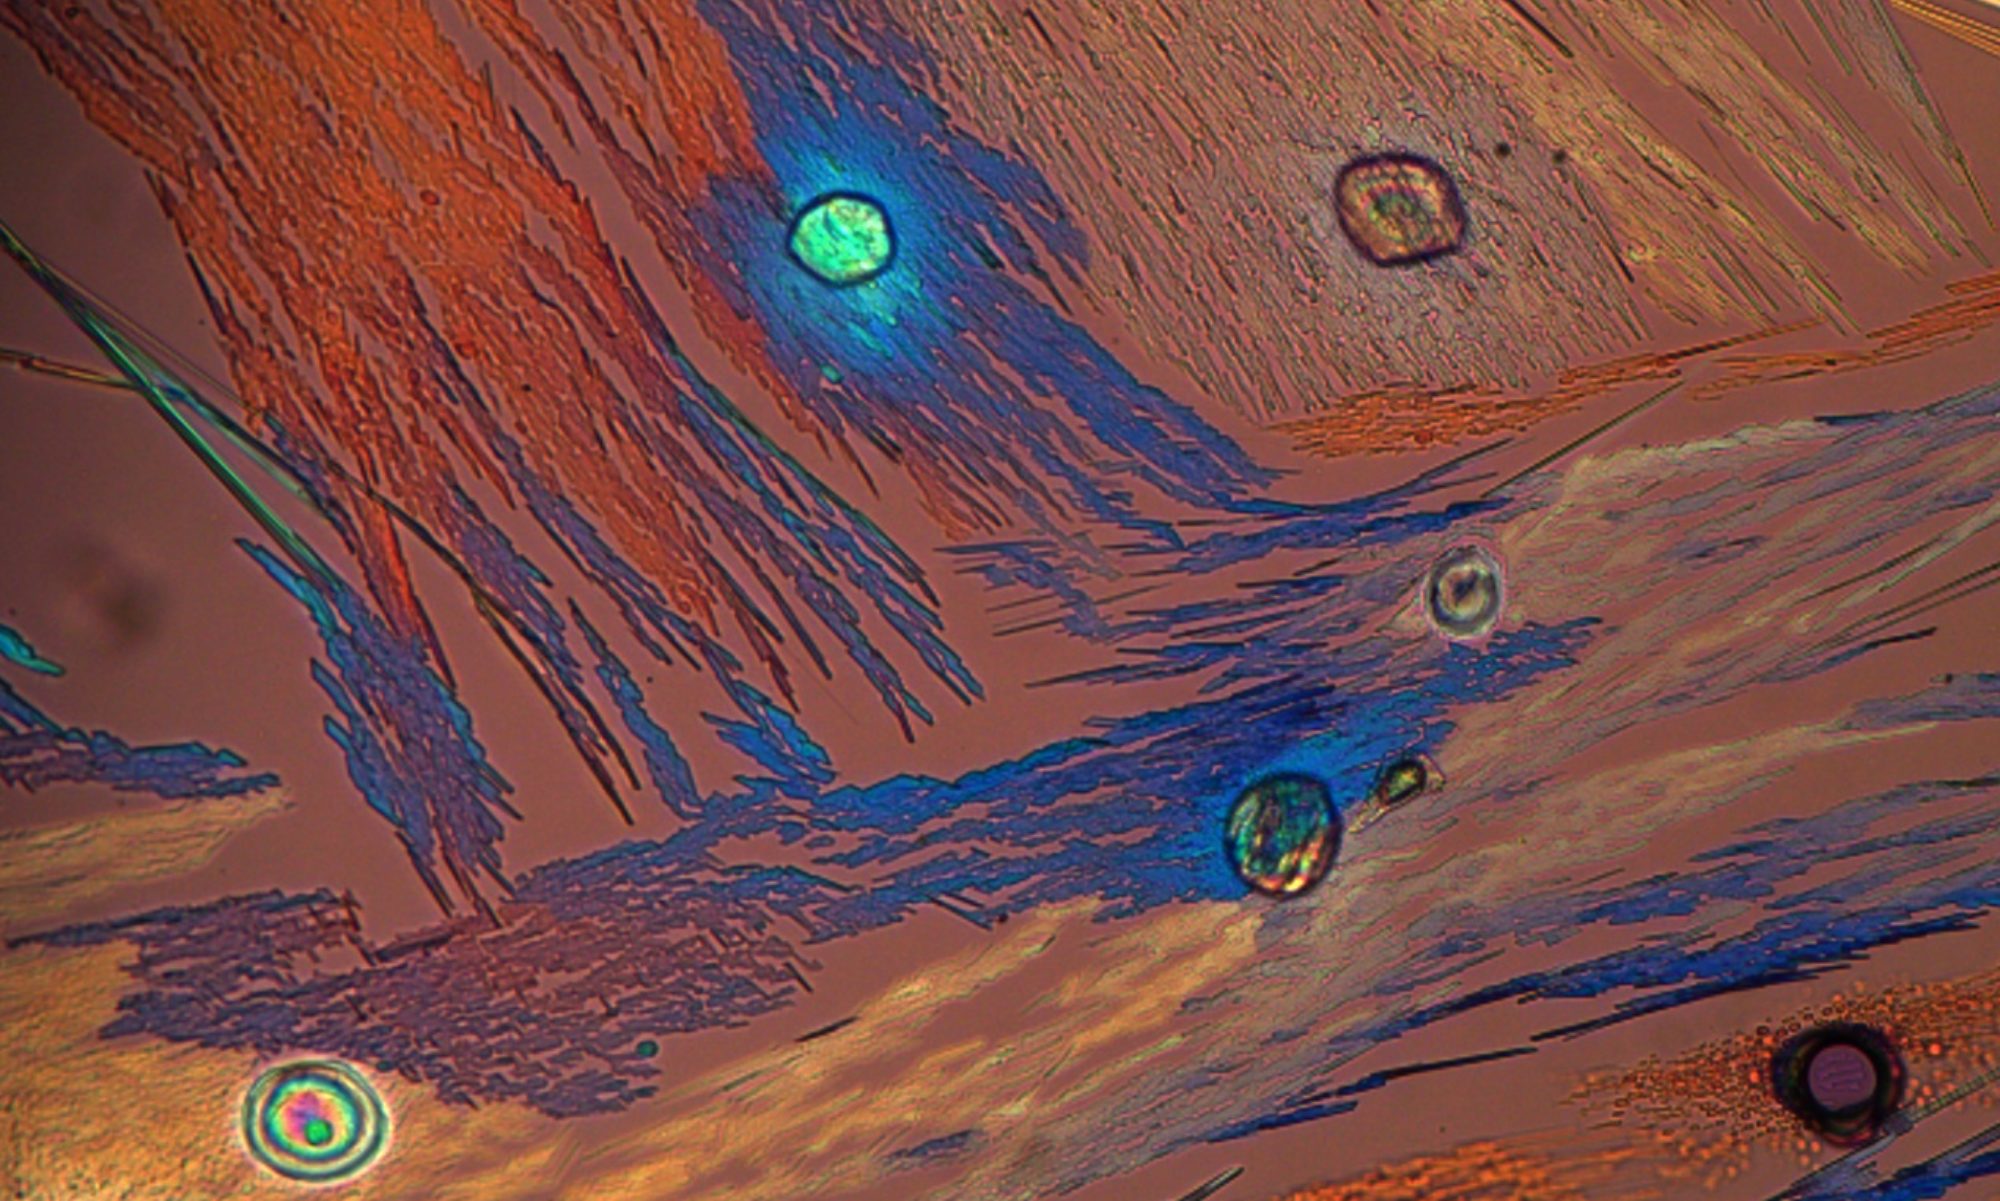
This is an image of an interior glass wall of a sample that was intentionally corroded. The purpose of the tests was to assess the tendency of the glass vial to corrode and to set up our evaluation techniques. It was necessary to empty the contents of the vial and the break the vial in order to mount the specimens of interest.

Differential interference contrast microscopy can be used to image the interior surface of glass vials with emptying the contents or destroying the vial. The microscope setup and imaging can be tricky, but once one gets accustomed to the task it is quite powerful. DIC also allows you to mark those regions you wish to examine using SEM which requires destructive sample preparation.

Example 2 As Received Vials
When doing stability trials for glass vial corrosion, it is easy to assume that the original vials are perfectly smooth and clean. That is not necessarily so. These two images are of different manufacturer’s vials. One is smooth and clean as expected whereas the other one shows extensive deterioration of the interior surface (likely during vial manufacture). It is crucially important that one look at unused vials in order to assess progressive corrosion in stability trials.

